Friday, September 5, 2014

Completed G&G Inspired Entertainment/Media Center


Earlier this year I finally completed the EMC.  Below is short video going over the details of the project (my first video for this Blog). It is constructed out of Honduran Mahogany with ebony plugs and splines.  All rail to stile joinery was done using the Domino.  All of the components were pre-fished before assembly.  The components were first dyed with Darrel Peart’s G&G dye recipe; 7 parts General Finishes’ Orange Dye to 4 parts General Finishes’ Medium Brown Dye.  The topcoat is General Finishes’ Arm-A-Seal. Let me know if you have questions or comments.  Now I have to something about the cherry speaker cabinets.


Thanks for stopping by,

TexWood

Tuesday, December 17, 2013

Christmas Update and the Belated WIA Post

Christmas Update

Well, this year with a number of projects going on in the shop (I wonder if they ever get done) and some new floors being installed in the house, I need some quick but classy gifts for friends and family.  Enter the Drunken Woodworker to the rescue.  He sells on number of completed boxes and display items on his website, as well as, plans for making some of them.  I really liked his wine bottle and glass display rack and purchased the template for a reasonable $3 (cheap at twice the price).  It was exactly what I needed.  And within a couple of days I had five Christmas presents done and ready to wrap. OK – add three more days for oil/varnish finish.


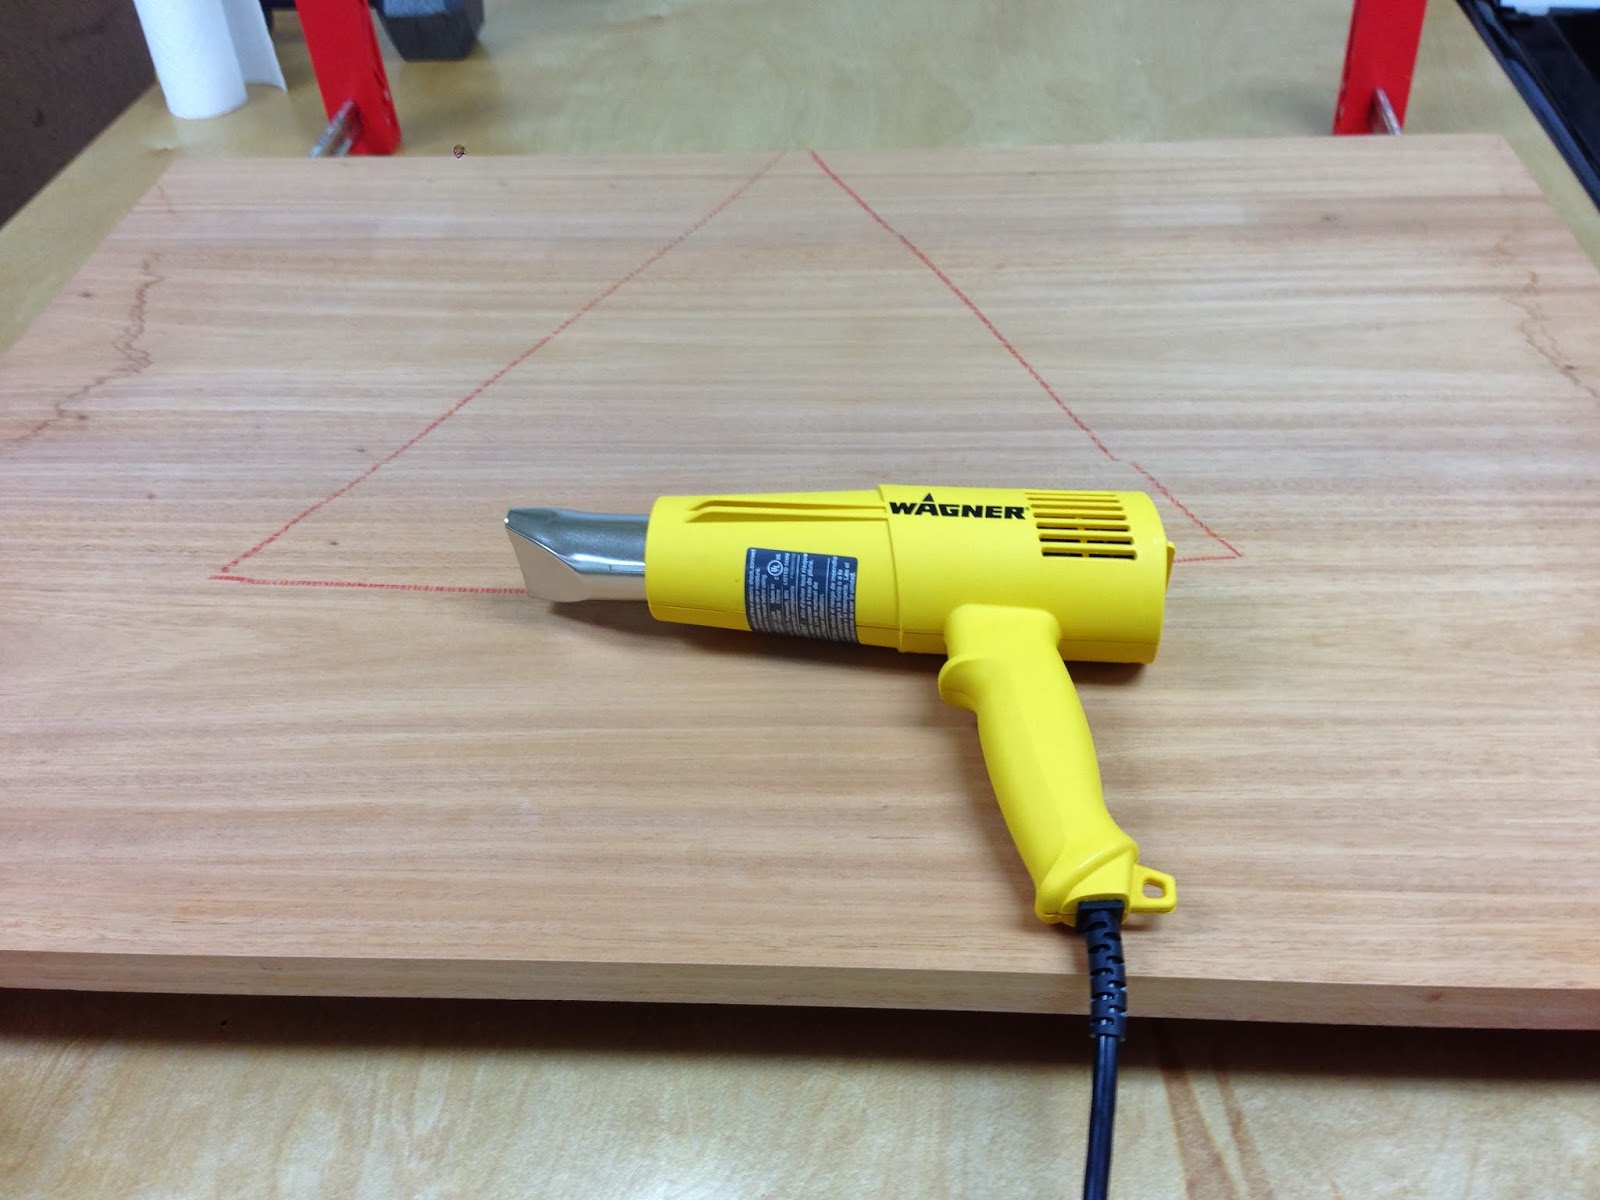
Completed wine bottle and glass display rack ready for finish; done in African mahogany and maple.


Finished and ready to wrap

Belated WIA Post

Once again this past October I went to Woodworking in America sponsored by Popular Woodworking.  This is my fourth time to attend WIA, and as always, it’s the woodworking community event of the year.  While there are always great classes, and the marketplace can’t be beat, it’s the comradely of old friends and meeting new ones that brings me back year after year.  This year all the Wood Talk guys finally all met up in person.  Marc, Matt and Shannon are not only great woodworkers and ww media types; they are also very approachable and friendly to all…well not so much for Matt J  This year I did spend a fair amount of time with the Modern Woodworkers Association guys (Tom, Dyami, Chris A., and Sean).  I have known most of them for a few years now and they are a great bunch of guys and cigar aficionados (a little inside baseball).  I also got to meet back up with Ian, Arron, Chris L., Wilbur and Nik; and meet some new friends in David, Robert, Mark, Brian and Mike M. (apologies if a missed anyone).

Anyway, as I’m sure you have read a number of posts on benefits and fun of attending WIA.  Here are my helpful pro-tips for attending the event next year.
  • Register early for the discount and book your hotel room
  • Where to Stay?  Either stay at the Embassy Suites or know someone who will.  Why? Manager’s Reception (i.e., free beer).  Oh…and free breakfast too with an omelet bar.  If you plan on sharing a room with a buddy, the Embassy suites is also the best suited for such an arrangement.
  • Visit the marketplace often.   Make sure and save up for the event, because even if you have a very well equipment shop, you will find something you just gotta have.
  • Keep an ear to the ground for the best classes. There is always an instructor or two that steals the show.  You want to make sure you don’t miss their classes.
  • Don’t be shy.  You know why you’re here…to eat, sleep and drink woodworking
  • Go out to the local watering holes and meet new friends in the evenings
  • Hydrate (see 5 above)
  • Participate in the Hand Tool Olympics.  Even if you’re not a hand tool guy there are experts to help you out.  And nothing‘s better than one-on-one instruction.
  • Come back again next year

Below are a few pics of WIA13


I did find the "Shop Monkey"


MWA recording live at WIA


Hand Tool Olympics: Aaron winning...need I say more


What I bought this year...yes, that includes the router table

Friday, November 8, 2013

How to fix a cup in a glued up panel – or how I wasted a week…

So where I last left off; I had returned from WIA to find that my Top for the EMC I had glued up before I left now how a 3/16” cup in it.  My first thought was I need to rip it apart and re-glue it.  Fortunately I made a design change and actually needed to reduce the tops thickness by 1/8” or so.  So then I thought why not take it a cabinet shop with a wider drum sander than I have to thickness it and sand the cup out.  But I was then worried that the feed rollers would just press the cup out as it sanded and I would just be left with a thinner top that still had the cup.  So off to my books and the internet for some “old fashion remedies”… 


The first solution I found was to wet the convex side and let it dry under weights.


No Luck

The second solution was to wet the concave side and let dry stickered. (sorry no pics)  Some Luck – after three rounds of this I was able to reduce the cup by a 1/16”.  In fact, while the top was wet, it actually cupped in the opposite direction but then it dried with pretty much the original cup still in it.

The Third solution was to use a heat gun on the convex side to shrink the fibers and reduce the cup. 


No Luck

The fourth solution was to cut kerfs in the underside and epoxy a long strip in the kerf. I then let it cure while clamped to a flat service.


No Luck – It did dry flat, but then cupped as soon as the clamps where removed.

The correct solution -  rip it, thickness it and re-glue it.  


Results – prefect.


So, while wasting a week dealing with this I did learn (one more time) that there are no easy solutions and you’re first thought is sometimes the best one.

Thanks for stopping by,

TexWood

Thursday, October 24, 2013

I'm Back!

Ok, so I've been absent for year.  Give me a break and I’ll try to be better this year.  I just got back from the “Woodworking in America” conference in beautiful downtown Covington, Kentucky.  And it inspired me to both revitalize this blog and stretch my wwing abilities.  First off, it was a great conference.  It’s always great to reunite with old friends and make new ones.  The one big takeaway for me was a class I attended by Silas Koph on marquetry.  It is defiantly something I am going to explore in the next few months/years.  For more on the conference please see my blog roll.  There are a number of great posts on WIA13 that really capture the event better than I ever could.

So, what have being doing the past year?  Well, I did build the Bob Lang boxes for Christmas presents.  Next up, was some shop improvements, namely the sharpening station and helical head upgrade for my Jet Jointer/Planner.  Below are a few pics of some of the things I've been doing.


 My on-going project for the past few months is a new entertainment/media center (EMC).  This is based on the G&G Thorsen House side-board.  This project ended up taking the place (and wood) of the Corner China Cabinet project.  Below are the SketchUp plan I came up with and the base as it is now.


The EMC is designed around my Outlaw Audio 200 watt by 7 channel amplifier.  This beast is big and heavy (approx. 100 lbs.).  I completely pre-finished all the base components prior to glue-up.  Currently, I am working on the top and the magnetically secured back panels.  The top is giving some issues at the moment.  When I returned from WIA I found that it had decided to cup by about 3/32”.  I am trying a number of solutions to correct it.  I’ll go over my results and final outcome in the next post.

Thanks for stopping by,

TexWood

Tuesday, August 28, 2012

Dining Table - Finished


As you can see the Dining Table is finished.  As always it took more time than estimated, but it turned out alright.  The top was dyed with General Finishes Antique Cherry and the maple legs were left natural.   The finish I used was my go-to General Finish’s Arm-a-Seal.   I used about 3 coats of gloss followed by two coats of satin. 

While this was simple build, it did have some challenges due to the size of the parts.  The most challenging operation was the bevels on the underside of the top.   The top is a little over a 1” thick, and rather than just using a chafer bit to bevel the underside I wanted something a bit more graceful.  To that end, the bevels are about 2 ½” wide leaving an apparent edge thickness of ¾”.  The hard part was handling the top on edge at the table saw.   I wouldn’t recommend the operation, but with a tall auxiliary fence and a couple of feather-boards it wasn’t quite as difficult as I expected.  I then used my smoothing plane to clean the bevels up.

Before I began my next major project, the corner china cabinet, I am going to go ahead complete my Christmas gifts I have planned for this year, as well as, three picture frames my wife wants completed.  BTW – the gifts I have planned are some nice boxes to hold tea-bags.  I’m using the design Robert Lang built in the last Popular Woodworking Magazine.  I plan on making 5 of them.  Let’s see if I can get them all done before Christmas.

Thanks for Stopping by,

TexWood

Friday, July 6, 2012

Famous Last Words (and Dining Table)


Well, since my last post I have change jobs, bought two new cars, and my wife was away visiting her family for a month.  So needless to say shop time was non-existent.  But now that I’m getting settled into my new job and my wife has returned, I was able to get back into the shop.  So far I have completed the base of the dining table and glued-up the top.


While there is nothing earth shattering in the construction I’ll go through a couple of details.  The maple legs were tapered on the table saw using the Rockler Tapering Jig, which works fairly well.  I ended up making the tapper on the legs a little thicker than the SketchUp model.  No reason except it just seemed to look better.  Then aprons were joined to the legs using Festool dominos (two 8 X 50 dominos for each joint).  The mortises on the legs were placed a little lower than on the aprons to allow for a ¼” reveal.


The Top was glued up from 4 boards of cherry.  I again used 8 X 50 dominos per joint for alignment purposes only.  The overall dimension of the top will be 30” X 42” which should comfortable seat 4 and fit perfectly in our breakfast nook.  Next I will be dimensioning the top and cutting a 3” wide edge bevel on the bottom. 

At this point my plans are to stain the top after I pre-treat it with Charles Neil’s Pre-Color Conditioner to prevent blotching.  Of course, I will be making up some sample boards to dial in my finishing strategy and formula.

Thanks, for stopping by,

TexWood

Thursday, April 19, 2012

Corner China Cabinet Design (and Dining Table)

Well, the Greene & Greene inspired Corner China Cabinet has morphed into two projects; a new Dining Table for our Breakfast Nook and the China Cabinet.  I believe I will start on the Dining Table first.  We just need something simple, so it should go fast (famous last words).  All of my kitchen cabinets near the Breakfast Nook are all maple and I would like to introduce some darker woods into the area.  So I have decided to make the table top out of cherry and the legs and aprons out of maple in a simple shaker style.  Below are the SketchUp models I have come up with so far.  Any and all comments are welcome.  


As for the G&G Corner China Cabinet, I still have a few issues to work out.  I may, or may not, need some embellishments on the side posts that become the feet.  And I’m still working out what type of hinges I want to use for the door.  For my G&G Jewelry Cabinet (see blog archive) I used SOSS hinges.  While I liked the incognito appearance and functionality, I found them quite fussy to install.  Call me a blasphemer, but I would really like to use some soft-close blum euro hinges for this.  I believe they would support the heavy door and could be adjusted down the road for any sagging.  But I don’t believe they make any models that would work with the design I have so far.  Please let me know if you have a solution or better idea.

I hope to get started soon and will post with updates.  Last weekend I purchased most of the wood I’ll need for both projects.  It has had almost a week to acclimate to my shop environment, so I will probably start milling the boards for the dining table this weekend.

Thanks for stopping by,

TexWood